- Knowledge Base and Manual
- MP-Field
- Entering Data
-
Installation
-
Integration
-
MP-Desktop
-
MP-Web
- Introduction
- Access
- Side Bar Navigation
- Dashboard
- Favourites
- Datasets
- Summary Tab
- Tables Tab
- Export Tab
- Graphical Tab
- Report Tab
- Mapping Tab
- Manual Data Entry
- Calendar Tab
- Action Plans
- Custom Forms
- Contacts and Alerts
- Compliance
- Task Scheduler
- Monitoring Scheduler
- Calculator
- Data Entry
- Email Importer
- Object Management
- Obligations
- Policies
- Administration
- Administration - Manage Users
- Administration - Datasets
- Administration - Internationalisation
- Administration - Email Importer
- Administration - Monitoring
- Administration - Advanced
- Culture
-
MP-Field
-
Release Notes
-
Reporting
-
Configuration
-
Trial and Demo
-
Monitoring Types
Sample Point Navigation
Navigating to a location
If your sample points have the appropriate coordinate data (longitude, latitude) you will be able to make use of the navigation feature. Once you have downloaded a Visit and go into a sample point location and you should see in the top right a map icon.
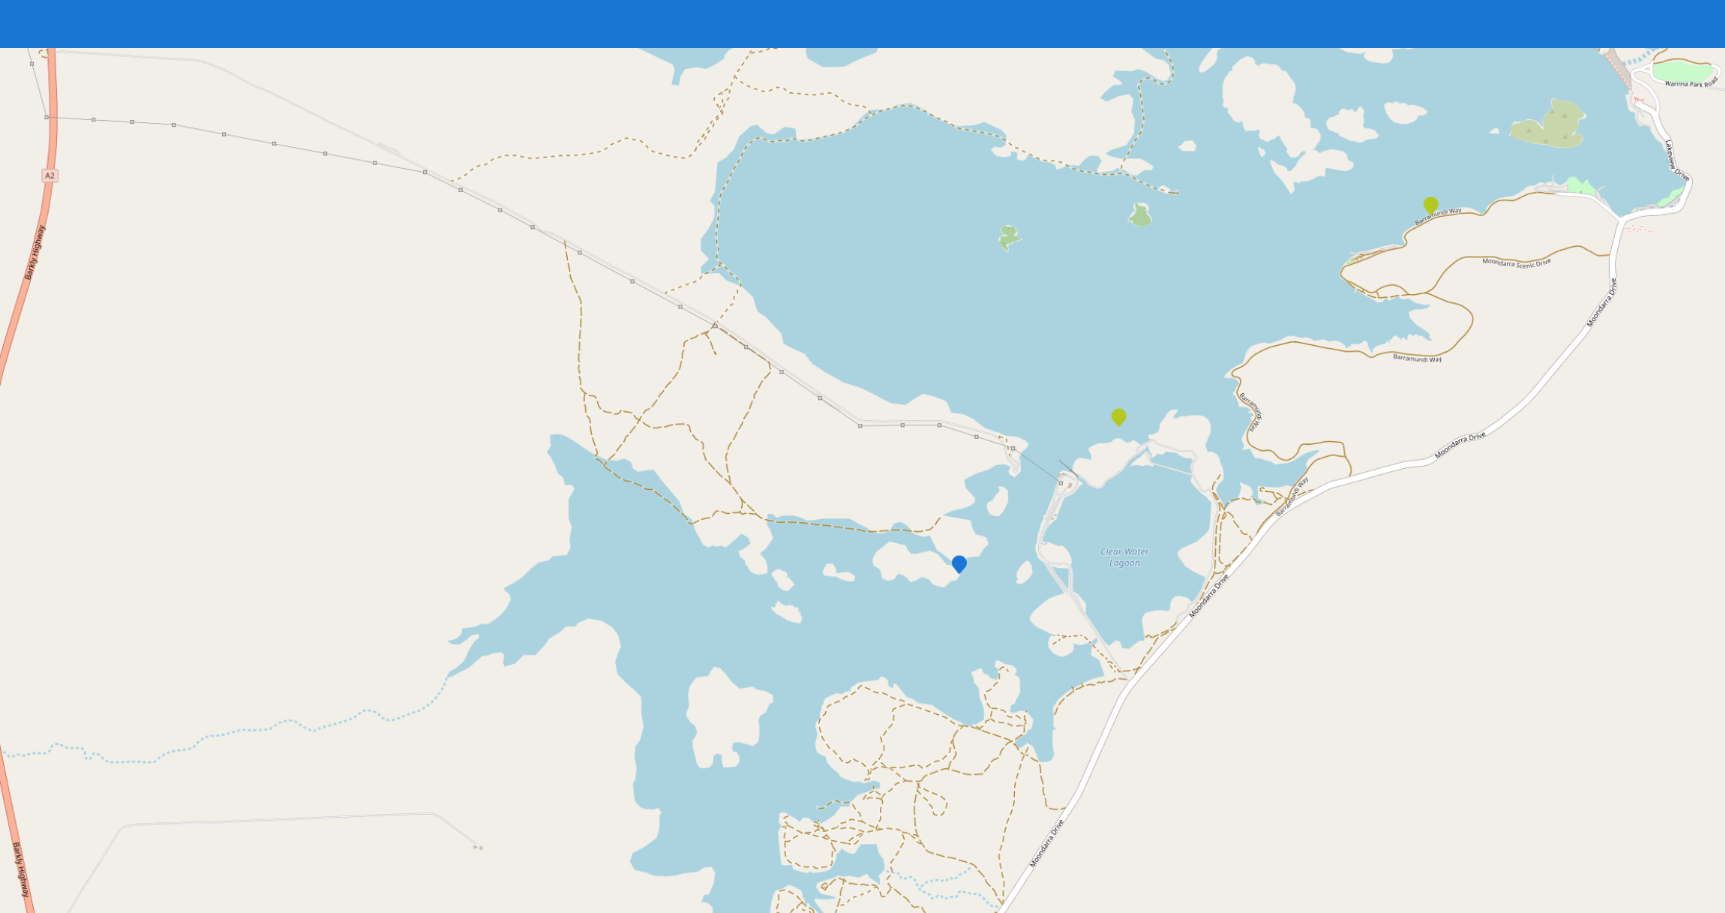
After clicking on this icon a map will then load at your current location. Your current location is shown on the map with a blue dot. The current Sample Point is highlighted in blue and other sample points in the download Visit are shown in green.

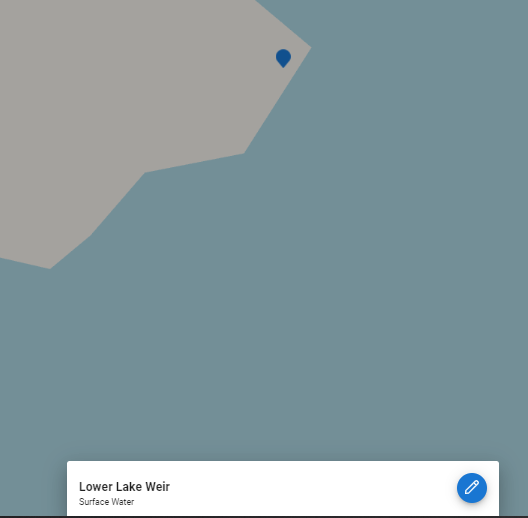
You can also tap another Sample Point to bring up a menu. From here you can choose to enter data for the selected Sample Point by pressing the edit icon.

