- Knowledge Base and Manual
- MP-Desktop
- Monitoring Scheduler
-
Installation
-
Integration
-
MP-Desktop
-
MP-Web
- Introduction
- Access
- Side Bar Navigation
- Dashboard
- Favourites
- Datasets
- Summary Tab
- Tables Tab
- Export Tab
- Graphical Tab
- Report Tab
- Mapping Tab
- Manual Data Entry
- Calendar Tab
- Action Plans
- Custom Forms
- Contacts and Alerts
- Compliance
- Task Scheduler
- Monitoring Scheduler
- Calculator
- Data Entry
- Email Importer
- Object Management
- Obligations
- Policies
- Administration
- Administration - Manage Users
- Administration - Datasets
- Administration - Internationalisation
- Administration - Email Importer
- Administration - Monitoring
- Administration - Advanced
- Culture
-
MP-Field
-
Release Notes
-
Reporting
-
Configuration
-
Trial and Demo
-
Monitoring Types
MP-Desktop Creating a Monitoring Schedule
How to create a Monitoring Schedule in MonitorPro Desktop
Creating a New Monitoring Schedule
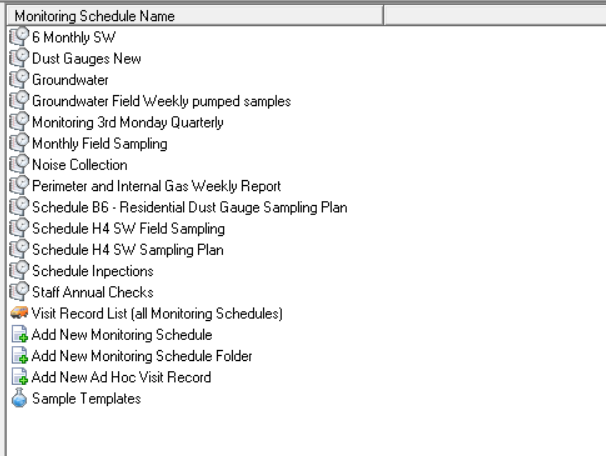
From the database tree, navigate to the Control Panel/Monitoring Schedules. Double-click Add New Monitoring Schedule.
This will open a window allowing the option to pick an existing Dataset on which to base the Monitoring Schedule or to create a Schedule from blank. Clicking on the Edit or New buttons will open the Edit Dataset window. Setting up a Monitoring Schedule from a Dataset saves the need to manually enter many of the criteria required.

Monitoring Schedule Folders
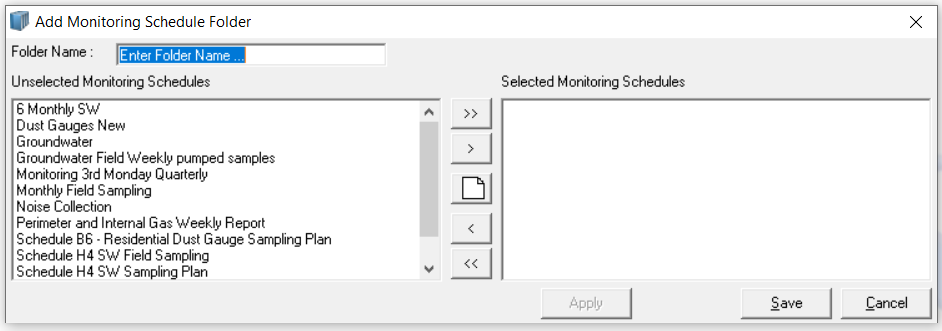
Monitoring Schedules can be ordered into Folders, for easier navigation and grouping. Click on the Add New Monitoring Schedule Folder and provide a Folder name, then simply select the Monitoring Schedules to include. Repeat this process for all the Folders required.

Next, see the General Setup
