
- Knowledge Base and Manual
- MP-Desktop
- Monitoring Scheduler
-
Installation
-
Integration
-
MP-Desktop
-
MP-Web
- Introduction
- Access
- Side Bar Navigation
- Dashboard
- Favourites
- Datasets
- Summary Tab
- Tables Tab
- Export Tab
- Graphical Tab
- Report Tab
- Mapping Tab
- Manual Data Entry
- Calendar Tab
- Action Plans
- Custom Forms
- Contacts and Alerts
- Compliance
- Task Scheduler
- Monitoring Scheduler
- Calculator
- Data Entry
- Email Importer
- Object Management
- Obligations
- Policies
- Administration
- Administration - Manage Users
- Administration - Datasets
- Administration - Internationalisation
- Administration - Email Importer
- Administration - Monitoring
- Administration - Advanced
- Culture
-
MP-Field
-
Release Notes
-
Reporting
-
Configuration
-
Trial and Demo
-
Monitoring Types
MP-Desktop Sample Management
How to manage Samples in MP-Desktop
Introduction
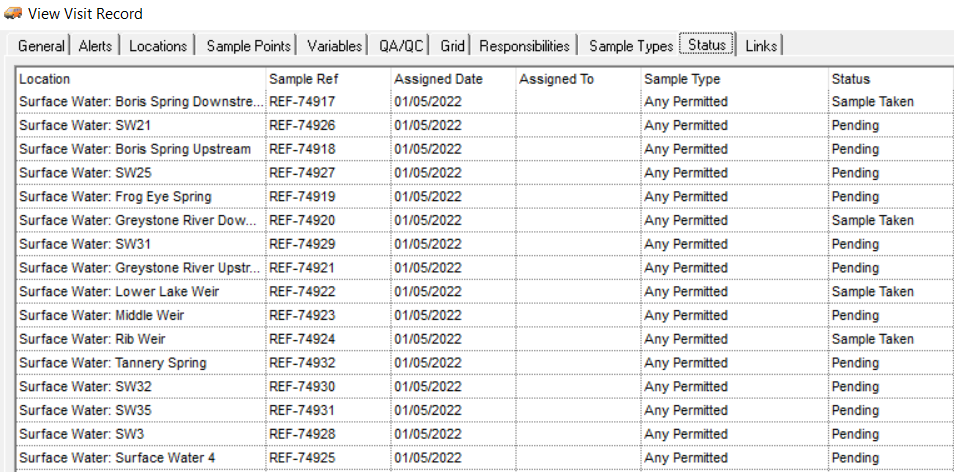
Using the Monitoring Scheduler users have been able to auto-generate Sample References as part of those subsequent Monitoring Visits (or manually add them directly in the Visit). These Sample References allow the resolution of data import without the need for the Sample Point to be included in the data file.
To further expand this for users that don't wish to use the Monitoring Scheduler for sample management, they can now add them directly from the Add New Sample under the Monitoring Schedules folder. Data can then be auto-resolved in the same way as if they were linked to a Monitoring Visit. Subsequently, users can use the Sample List to filter and review data which is associated with a particular Reference.
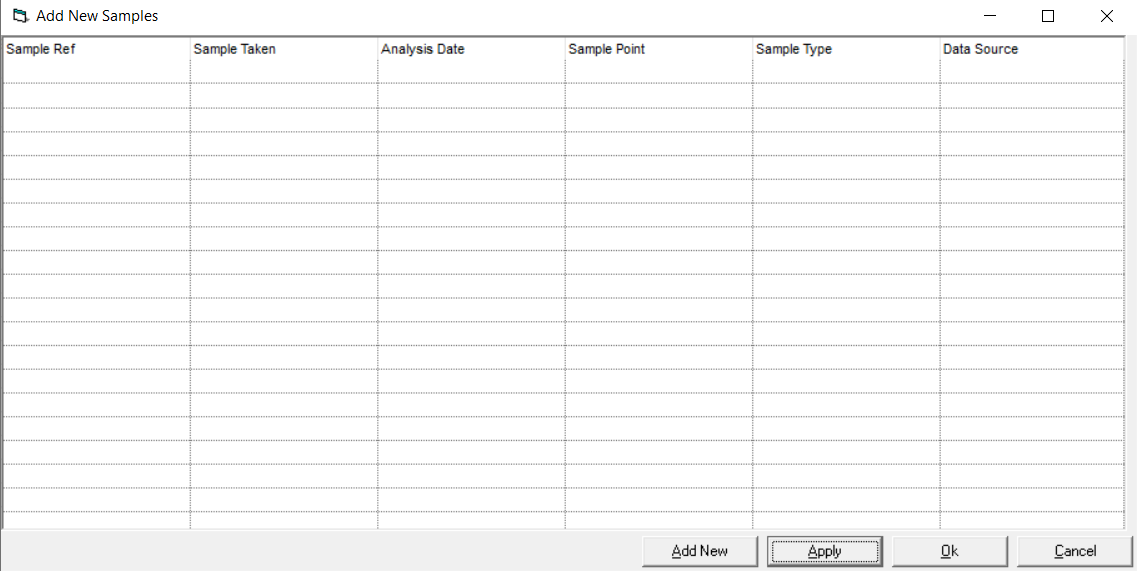
Add New Sample
Users can add new Samples to the system from the Add New Samples table. Simply add the Sample Ref as a minimum. Additional data can then be added such as the Sample Point, Data Source and Sample Type of the anticipated data. This information is then used on import to reconcile the data to Objects in MonitorPro from solely the Sample Reference.
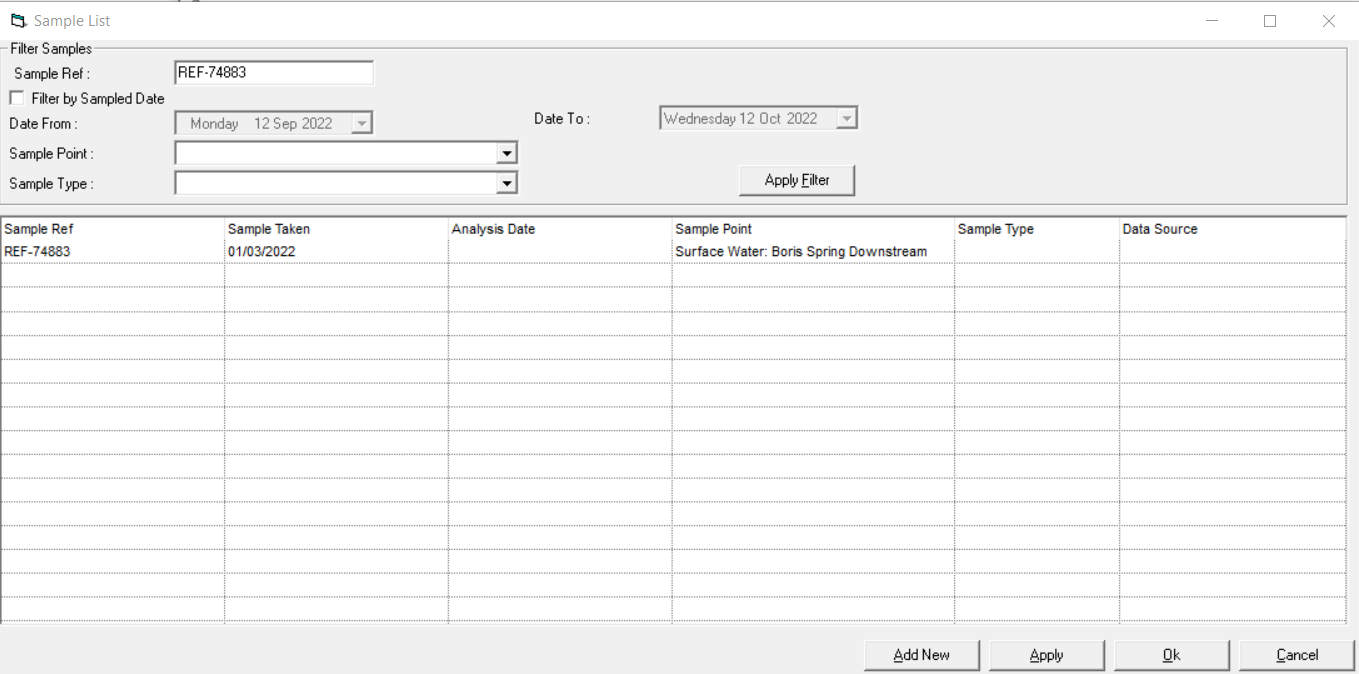
Sample List
The Sample List is used to review data in MonitorPro associated with a specific Sample. It can be used to track and manage Samples in MonitorPro. Fields such as Sample Taken will update automatically as data is detected in MonitorPro. They can also be manually updated and edited from the Sample List.
Note
Users can also use the main search feature to track down specific Sample References and then the properties and Quick View to see the data associated with a specific Sample. Equally, in the Database Folders under Samples, users can drill down into specific Sites and then Sample Points where data is then grouped by Sample.
Sample Reference Properties
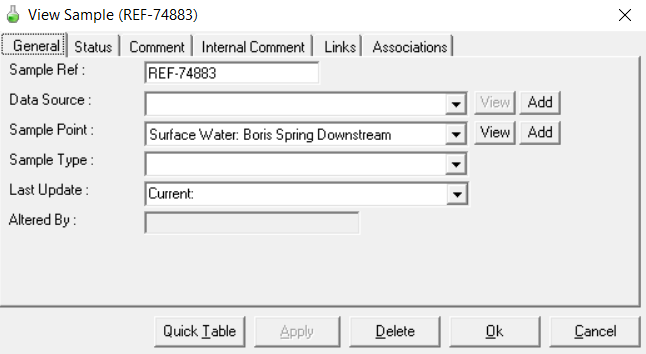
Summary view for all Samples associated with a specific Sample Point
