
Setting up the Email Importer using Exchange Online
This process is required if your organisation uses Microsoft's Exchange Online for Emails.
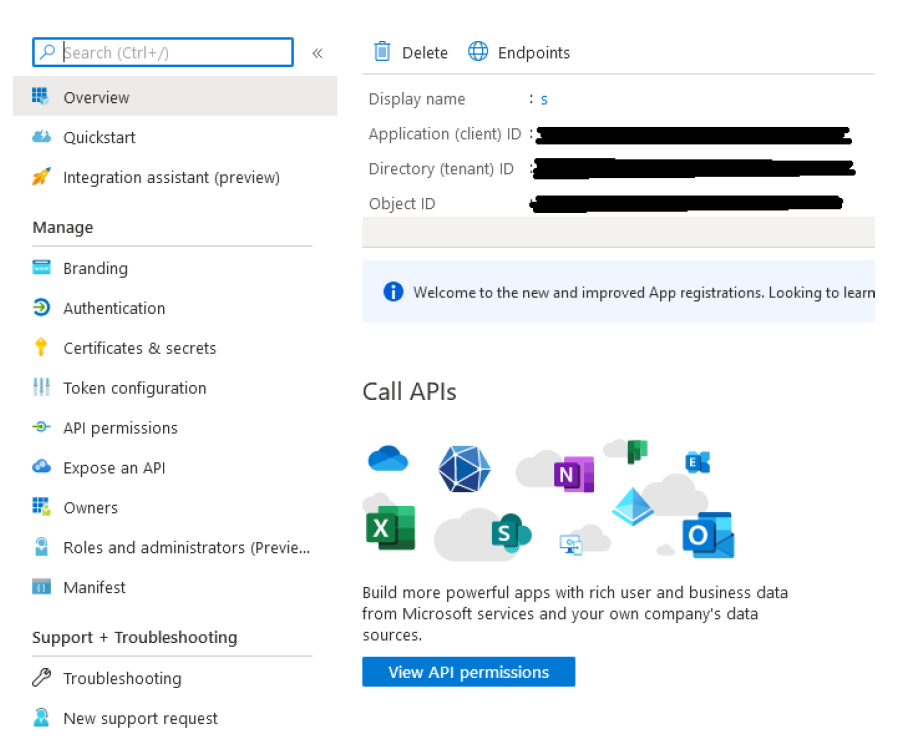
Firstly, you’ll need to login to the Azure Portal at https://portal.azure.com for your organisation. You’ll need to register a new App in Azure Active Directory (App Registrations)

Give it a name such as MP Web Email Processor, so it can be tracked and referenced. Choose the single tenant option, accounts only in my organisation. Leave the URI blank. Click Register to return and show the overview screen.
Click View API permissions. Add the following permissions to the registration:
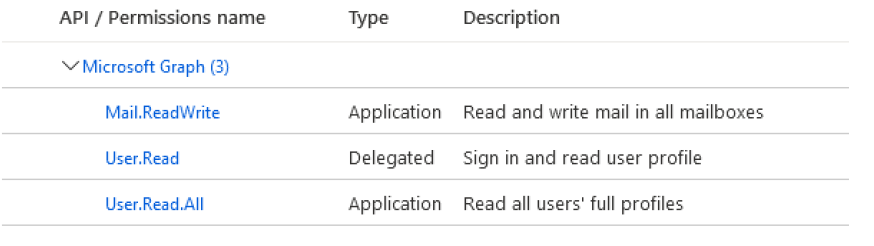
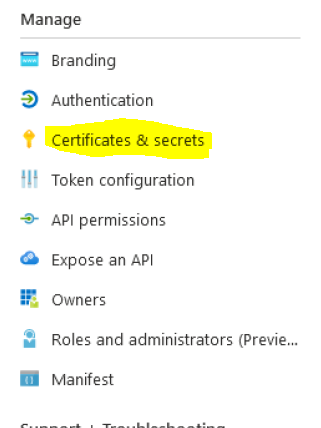
Ensure that an admin has granted the permissions as well (click the grant button). Return to the overview then select Certificates and secrets from the left-hand menu
You will need to upload the public part of the SSL certificate you are choosing to use for this. You can use one you already have for your organisation from a reputable SSL provider such as GlobalSign or you can use a self-signed one. We recommend for security using one from a reputable provider. You may need to first use OpenSSL to convert it to a .cer .pem or .crt file depending on what format yours is provided in.
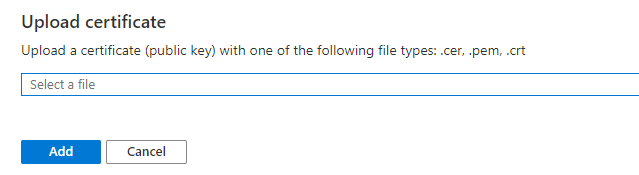
Once that’s uploaded you should see a confirmation:

Next, you’ll need to install the SSL certificate WITH THE PRIVATE KEY into the Local Computer certificate store on the server(s) running both the MonitorPro service and the App Pool for IIS.
To install the certificate open the certificate manager either through the MMC or by running command line as an administrator and typing certmgr.msc. In some installations it is possible that certmgr.msc will not allow access to the Local Computer certificate store. In that case, run certlm.msc instead.
 Locate the certificate, file and import the certificate to the Local Computer Personal store.

Repeat the process on the IIS server for the account running the IIS App Pool for MP Web. If it is an all-in-one system with MP Web and the service on the same server then you only need to do this once.
Once you’ve completed the above login to MP Web and go to Administration >> Email Account Settings. For the incoming settings select the drop-down and choose Exchange Online from the authentication dropdown.
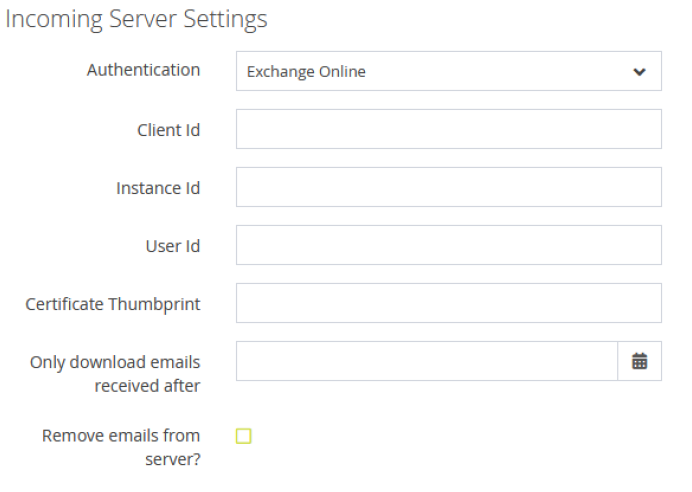
Populate the settings accordingly.
For the User ID go back to the Azure Portal, select Users, find the account of the email account you wish to use, click into it and scroll down to find Identity on the left, and you’ll see the Object ID. This is what to use to populate User ID. Once populated test the settings to ensure it is working correctly.

Common Exchange Online Setup Issues
An error occurred while sending the request
Can a connection be made to Microsoft Office 365? Check to see if a firewall is blocking the connections from the server to Microsoft. This can be done going via Task Manager → Performance Tab → Open Resource Monitor, check for light grey line calls from w3wp.exe on port 443.
TLS 1.0 & TLS 1.1 Not Supported
TLS 1.0 and TLS 1.1 are not supported by the Exchange Online connectivity. These need to be disabled prior to attempting to setting up this connection. Use a tool such as https://www.nartac.com/Products/IISCrypto/ to disable TLS 1.0 and TLS 1.1 and disable any unsafe ciphers as best practice
'The user account does not exist' response
Verify the account you are using is an individual mailbox and not a shared mailbox. It needs to be a User mailbox. Verify the UserID of the account entered into the configuration of MP Web.
Keyset does not exist CryptographicException
Has the IIS AppPool Identity and MonitorPro Service account been granted access to read the certificate's private key?
This can be done from the local machine certificate manager which can be opened by simply typing certlm into a command prompt.
Find the certificate under Personal > Certificates and right click > all tasks > manage private keys

Assign read permissions to the user running the IIS AppPool by clicking add and finding the user and setting Read permissions:

Certificate not found
-
Has the private key, not the public key, been installed into the certificate store, and in the Local Machine certificate store (appears under Personal\Certificates)? The private key shows a little key icon on the top-left of the icon in the certificate manager.
-
Using a self-signed certificate? Ensure gateway DB, tblEmailAccountSettings.bSecureCertificateAccess value is set to 0 rather than 1.
-
Did the thumbprint get copied from the certificate Properties UI window; in which case it may include an invisible character before the string? The safest way is to grab the thumbprint via Powershell as follows:
Find certificate via thumbprint using PowerShell
List certificates available:
cd Cert:
Get-ChildItem -path cert:\LocalMachine\My
Search by thumbprint (replace thumbprint with yours!)
Get-ChildItem cert:\LocalMachine\My\74154AD4D8EE1C8307E6BB5B1704688CAAC6A979 -recurse