
Managing Data entered via the Email Importer
If you are using the MP-Service to automatically import your files, you now have the option to automatically fetch and download emails, and then save files into your import folders based on rules, which you configure. Instructions on how to configure the rules and the email account settings can be found in the relevant section of the manual.
The Email Importer page will display a list of all emails that have been downloaded from the nominated Inbox. By default, it will display a paginated table of all emails from all time, and you have the option to filter to a specific date range.
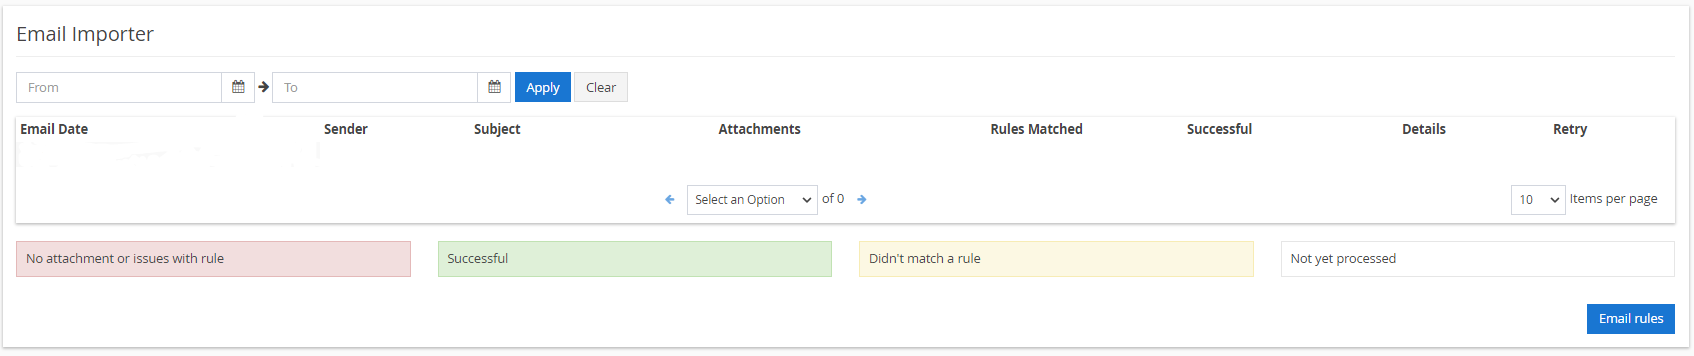
At the top, we have the ‘From’ and ‘To’ date range filters, which can be clicked to display a date picker. On selecting a date, the date will be added to the text box. After you have selected the date range you want, click ‘Apply’, and the table will update to show only emails between those dates.
In the table itself, there are some basic details about the emails it has downloaded, including Date, Sender, and Subject. It also shows a count of attachments found on that email, how many rules the email matched, and whether or not it was successful in completing this email.
The legend at the bottom explains the colour code system used in this table, but to summarise:
Red - means that something has matched a rule, but it was not able to save the attachment(s). This could be due to permissions, or a folder not existing. You will need to check with your IT administrator that the MP-Service has permission to write into the folder and that the folder path is correct.
Green - Everything was successful, the email matched at least one rule and was successfully saved into the file import folder.
Yellow/Amber - The email did not match any rules. If it should have, you will need to check the settings on the rule you expect it to match to ensure all details are correct.
White - That the email has not yet been processed. It has been received and queued up to be checked by the rules, but has not yet passed through MP-Service. Waiting a couple of minutes and reloading the page should change this email from White to one of the other states.
In this table, we also have some navigation options on the right. If an email has been classed as ‘not successful', you will be provided with a link, which, on clicking, will give a table of the steps that the rule processor took. Any errors or issues should be viewable here.
Each email also has a ‘Retry’ option, allowing you to set the email back to an “unprocessed” state, which will cause the rule checks to run again. This can be useful if you find a rule is incorrect and an email does not match it, you then correct the rule and want to pass that email back through to test the new rule settings.
Below the table are additional controls allowing you to choose how many emails to display on one page, and a page selector allows you to move back and forth through all pages of the table. Lastly, underneath the legend is a button to navigate to the Email Rules page.
Note
This link will only appear if the logged-in user is an administrator and is able to access the rules page.
Other articles in this section
MP-Web Email Importer Settings
MP-Web Email Importer Alert Recipients
MP-Web Email Importer Administration